


Modern SMR drives are very sensitive due to a new shingled recording technology. The writing density becomes higher, and also, the internal processes in the drive firmware almost never stop. Even when the drive is idle, bands are rewritten to optimize data access. This is very good for data reading speed and increasing the amount of data written to the drive, but, unfortunately, sometimes this can be a reason of the internal processes fail, and the drive stops giving previously written data. Windows sees that the User Area is not allocated and automatically starts the format procedure. Yes, the drive is detected and works after that, but all the data on it disappears. The problem is that when formatting, the second-level translator also changes. What can be done in such a situation? Let’s look at it in this article.
For example, we have a Palmer family drive, which is in good condition and starts very smoothly without any problems. ROM is already unlocked according to this manual.
In Sector Edit we can see that some data is available. We can not say at this stage is the data new or old.

First of all, it is always recommended to do a FW backup.
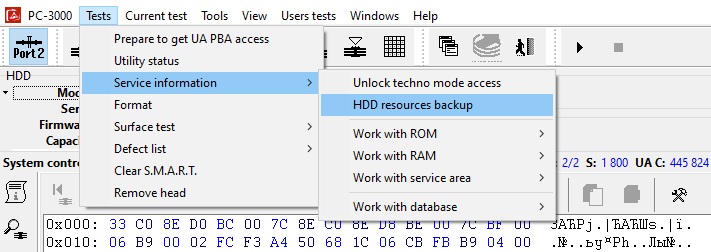
At this stage, we recommend to uncheck SA tracks, save modules using a composite reading and manually select Module 190 using areas reading to do the initial backup faster.

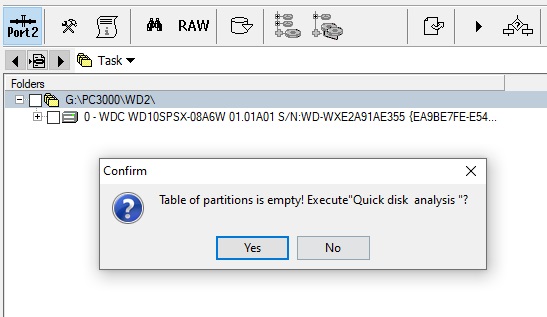
Let’s go to the PC-3000 Data Extractor to check the data in the drive. In the folder tree we see only standard folders which appear after the first HDD format in Windows.
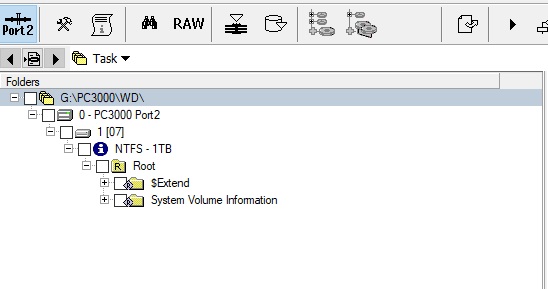
MFT map is also very small for the full drive.
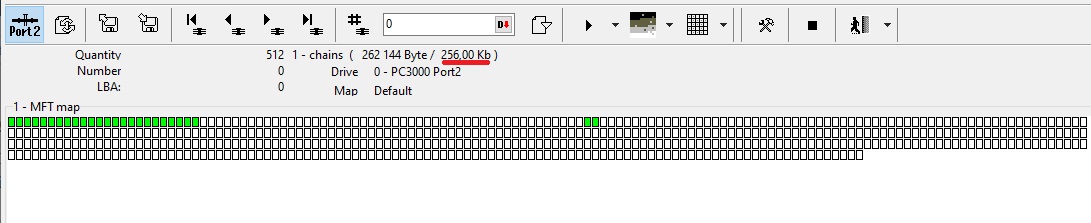
Please note that any MFT scan will not find any data because all other sectors are zeroed, but physically data may be still in the drive.
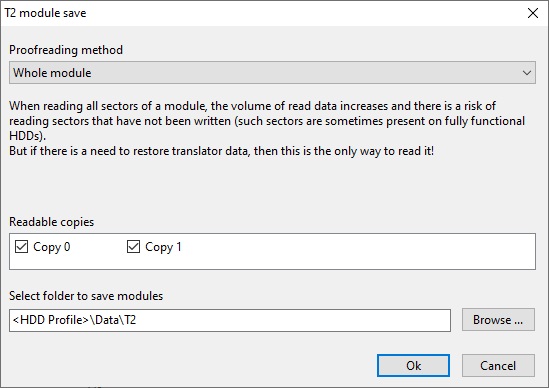
Let’s go back to WDC Marvell Utility. First of all, let’s save whole T2 module using a new feature in the Utility: T2 module save.

We need to save T2 as a whole module, because only the whole module has a correct information about all data:
If the drive is not very good, the saving may take some time.
Next, we press another new button Prepare to get UA PBA access on the top toolbar, because we are going to use a physical block addressing in this case.

and see the report about zones in the drive:
Prepare to get UA PBA access
Zone type…………………………. : Type 2
Zones…………………………….. : 2 080
Zone read…………………………. : Ok
PBA sectors count………………….. : Ok
Save to file………………………. : Ok
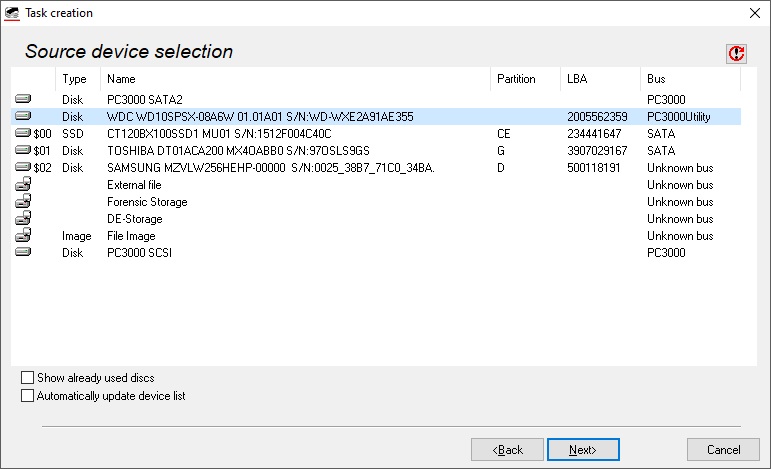
Next we are going to Data Extractor again and create another task, but at this stage it is important to select a PC-3000 Utility as a source:
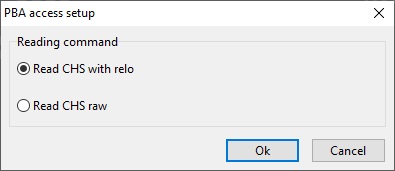
At the last step we select Read CHS with relo:
In the drive ID we’ll see only model and capacity, it’s normal if we are working with utility as a source.
Now, if we try to open a folder tree, we could see the next message:
It’s important not to perform any analysis as it may affect to our further data recovery results. Just close this tab pressing the red cross on the right top corner.
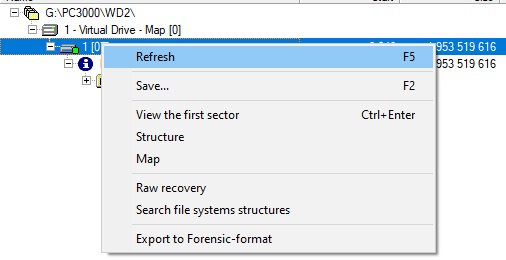
Next we click right mouse button on the root and select Working with the utility -> Restoring the second level translator
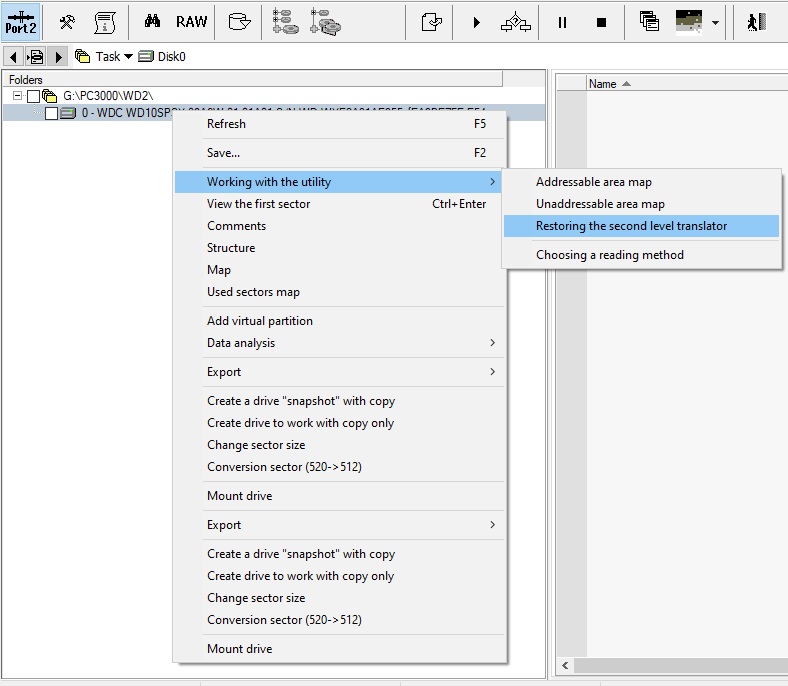
and select the T2 file saved before during the T2 module save procedure. The file name was default, 190_Copy0.rpm in our case. Select an Ignore actual translator also, because in our case the actual T2 is not correct after the format. We can disable this checkbox in case we need to get deleted files, for example.

Press Ok and wait for some time.
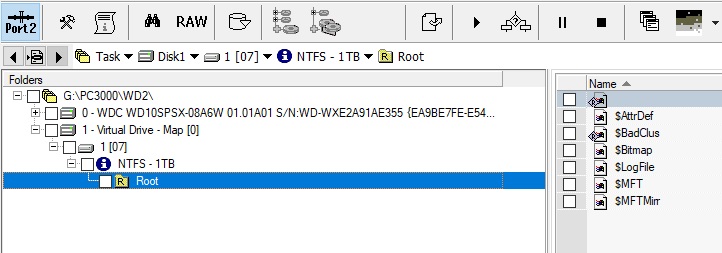
When the process ends, we will see some Virtual Drive in our folder tree. If we try to expand it, we will not see good data still:
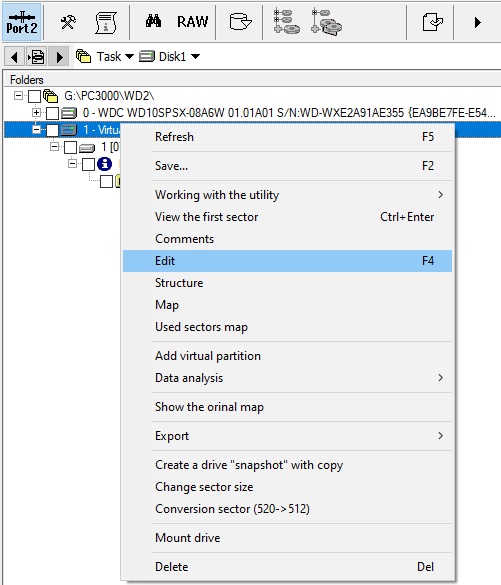
Next, right click on the newly created Virtual Drive and select Edit:
and in the next step go to Versions tab:
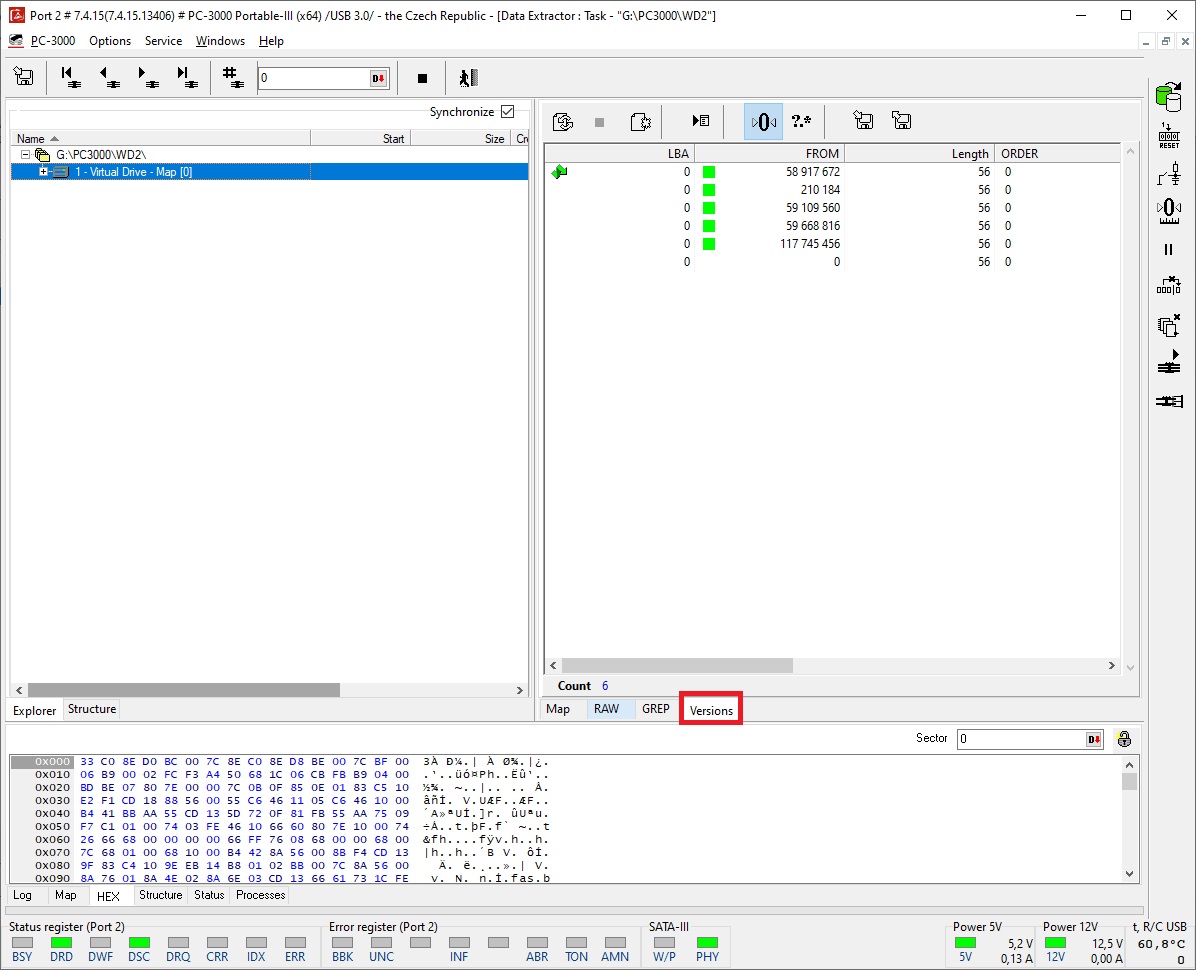
These entries are different metadata versions (in T2 module) of our partition we need to restore. We do not know which one of them is correct. Maybe the latest one is the one we need.
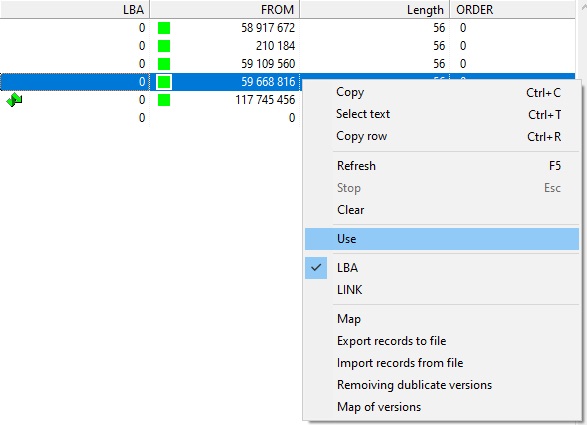
Click right mouse button on the selected version and choose Use:

Then refresh our Virtual Drive:
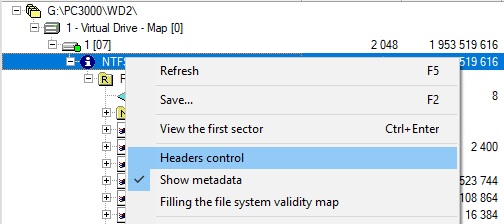
It is also recommended to enable Headers control for the new partition to see if the structure is good:
As we can see, the selected version is not good as we can’t see good files or any structure:

Let’s try to Use another version:
The result is still not very good.

To improve the result, let’s choose Selection versions of metadata:
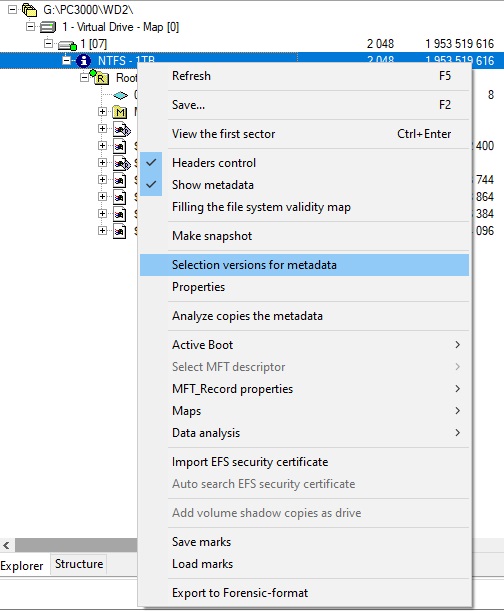
The result is much better after the procedure, we even can see good folders and files:

Now we can exit this mode:
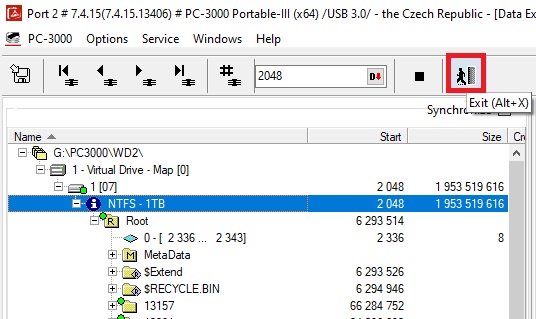
And check our data in normal Data Extractor folder tree. Folders and files are looking good and can be opened:

and if we build a map of folders and files it will be pretty big, around 108 Gb:

Data can be recovered now.
Please note that the imaging via PBA will not be very fast, about 10-12 Mb/s for the healthy drive.
The video about the procedure is here:

 (10 votes, average: 4.20 out of 5)
Very useful.
Thank you Acelab Team.
Amazing thank you Ace Lab Team….
Awesome new feature in current update. Thank you for the insights on data recovery from these WD drives, this helps a lot 🙂
Great article. Today, with the help of this article, we were able to recover information from a formatted Palmer. It will be interesting to see a similar recovery method on other formatted SMR drives, such as Rosewood.
Great news
It is great to see the development towards the SMR solution. Thank you for your effort and publication.
Super super !!! its like magic, thanks Acelab!!
wonderful great
Nice Post….. Thanks for sharing useful content.
Thanks for sharing this blog….
data recovery Dubai
Thanks for sharing a wonderful information
This is an excellent blog. I’m at a loss for words to express my gratitude for this post. With the use of PDF, we collect our keywords and papers. This blog has really impressed me.
Useful information ..I am very happy, Thank You
NICE
Useful information SUPPORT TEAM
Nice Post Dear… Thanks for Sharing Useful Article!
Data Recovery in Dubai
Wow Wonderful Blog.
Nice