


Hello Friends,
From time to time we have to work with formatted drives. Most file systems have special rules for data recovery from formatted drives. Sometimes, we work with formatted RAID arrays. For RAID cases, there are different rules for data recovery, but the main principles are still the same.
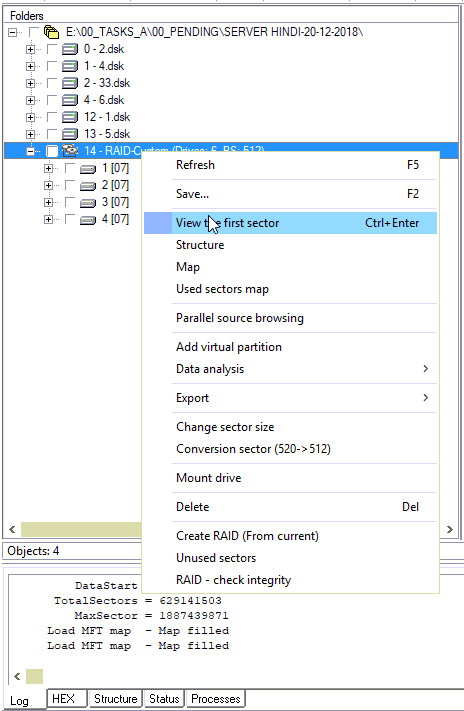
In today’s case, we have a RAID array on 6 drives. Based on the primary analysis, the first 125,000,000 sectors of each disk were formatted: they were filled with zeros, and a new MBR + GPT for the whole RAID array had been created.
Our strategy is to look for data that is located right after the formatted area. To achieve this, we focus on pre-formatted file system structures, not on the new ones. Add all members in RAID Edition workplace
Swiss Army knife for data recovery from RAID arrays is RAW recovery and statistics. We launch RAW recovery for all members AFTER 125,000,000 sectors and check out the results.
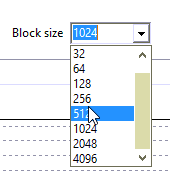
The point is to get an information about the block size. Here, it is 512 sectors.
The next step is to get on to Statistics and select block size 512.
Put drive count on 6 and set delay = 1 for start.

A periodical structure is not seen on this chart. Let’s try to set the delay value equals 16.
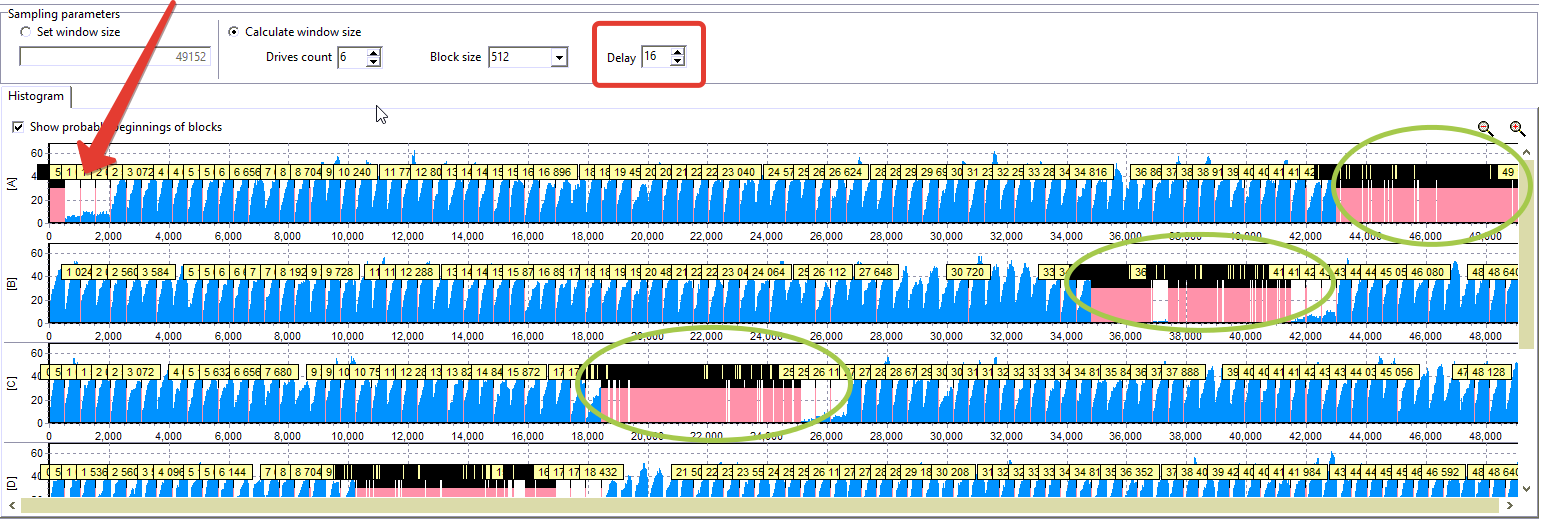
This chart illustrates XOR areas for first 4 disks. Also, it shows that there is some shift at the beginning with ~ 2000 sectors.
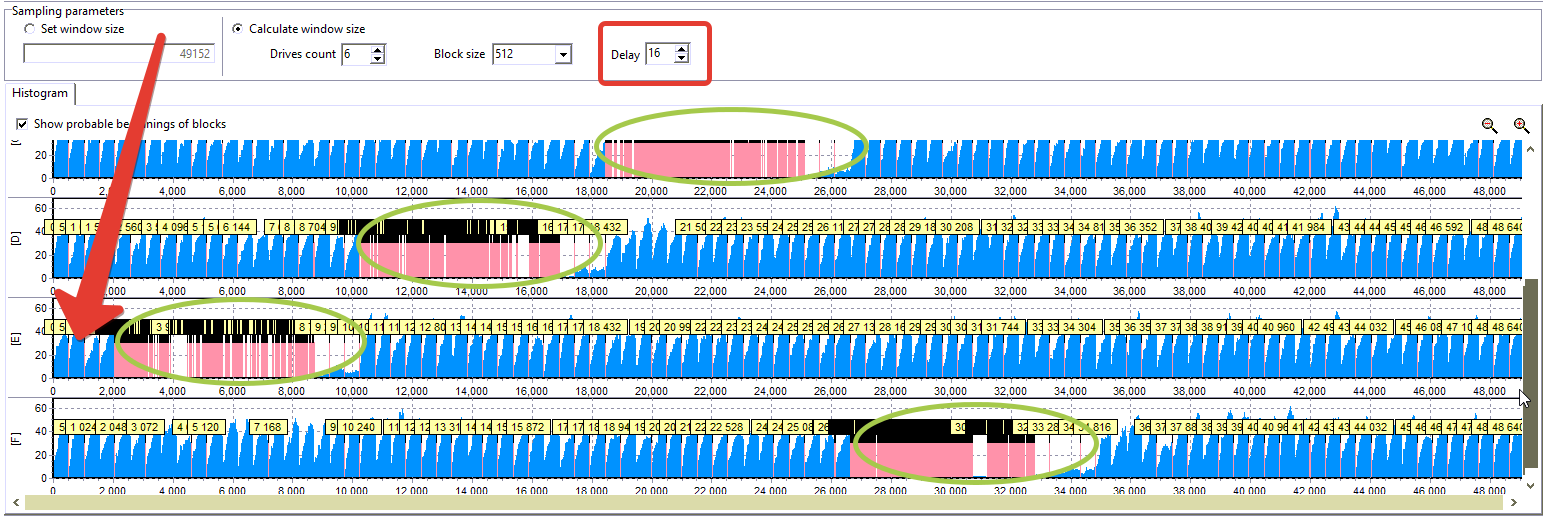
The same picture for other disks.
The shifting at the beginning suggest us to define the start of a partition (maybe RAID array for software RAIDs). And where do we? Yeap, in RAW recovery.
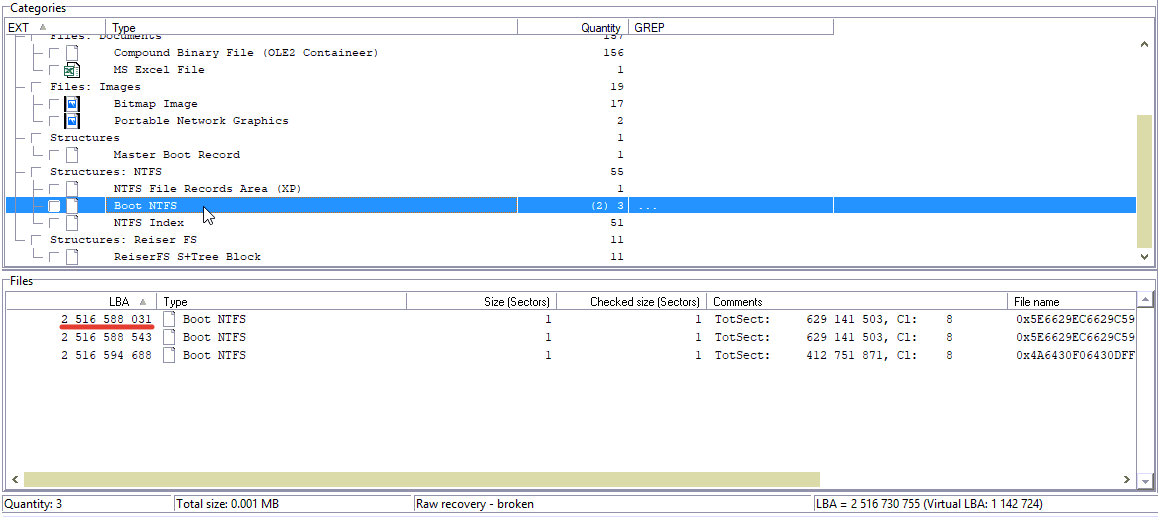
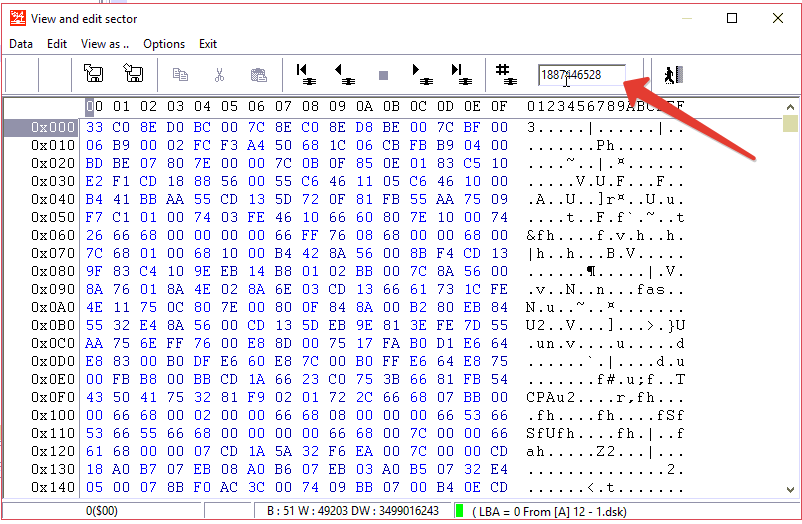
It’s here:
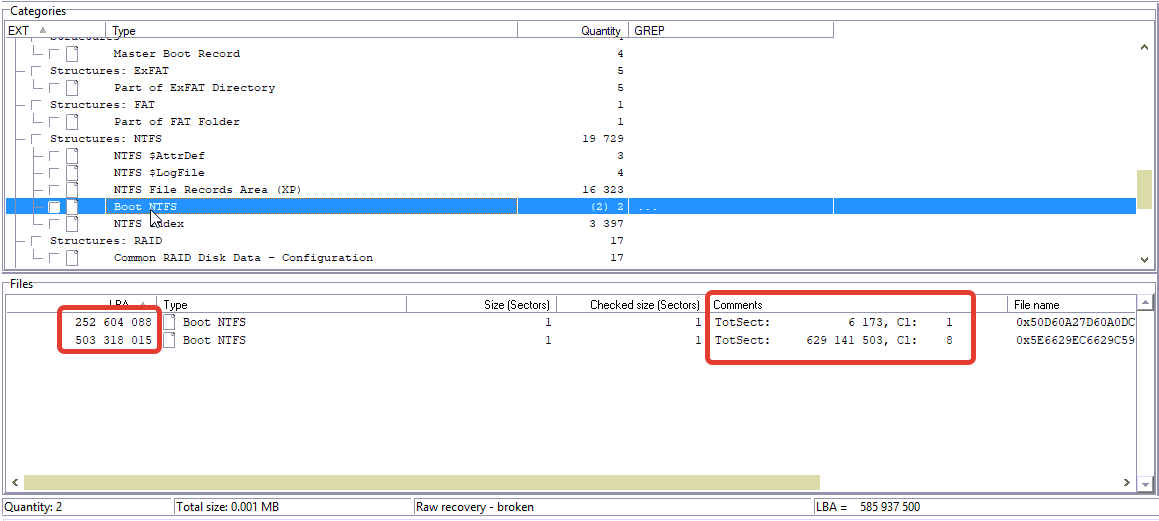
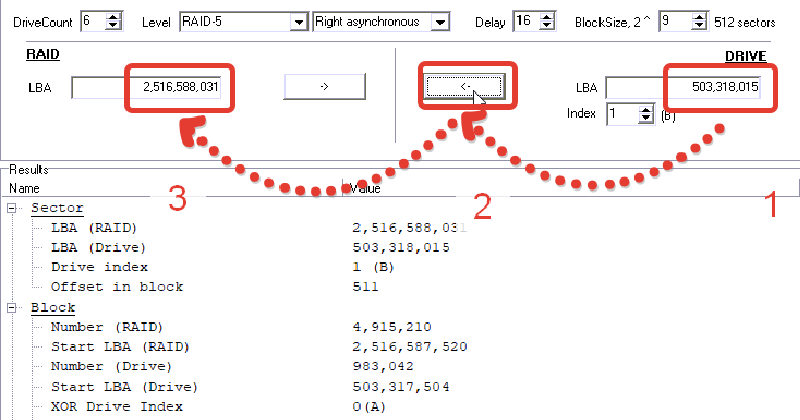
We are interested in the bigger partition at 503,318,015 LBA. Copy this LBA.
Next useful tool is the Calculator
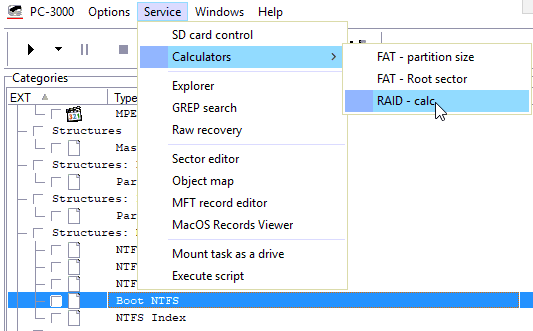
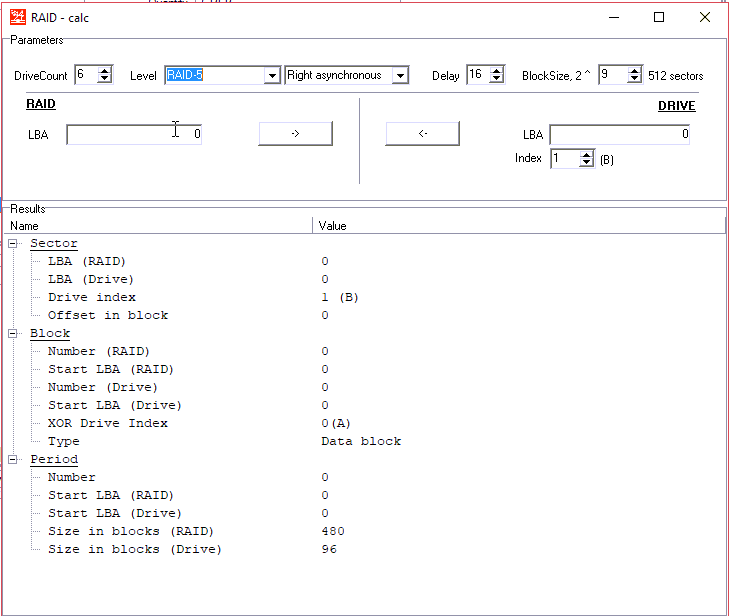
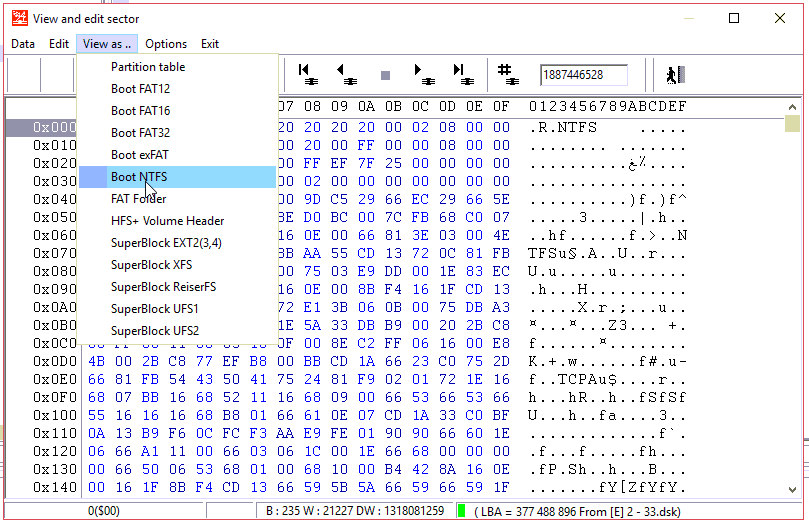
On the right hand, we pasted the LBA of NTFS boot.
On the left side, we get approximal LBA for this boot on the RAID array

Copy this value

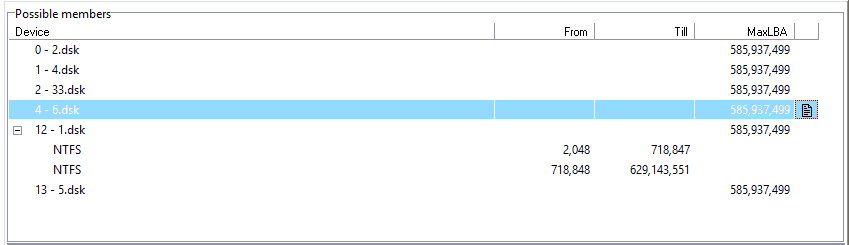
And look for it on RAID configuration
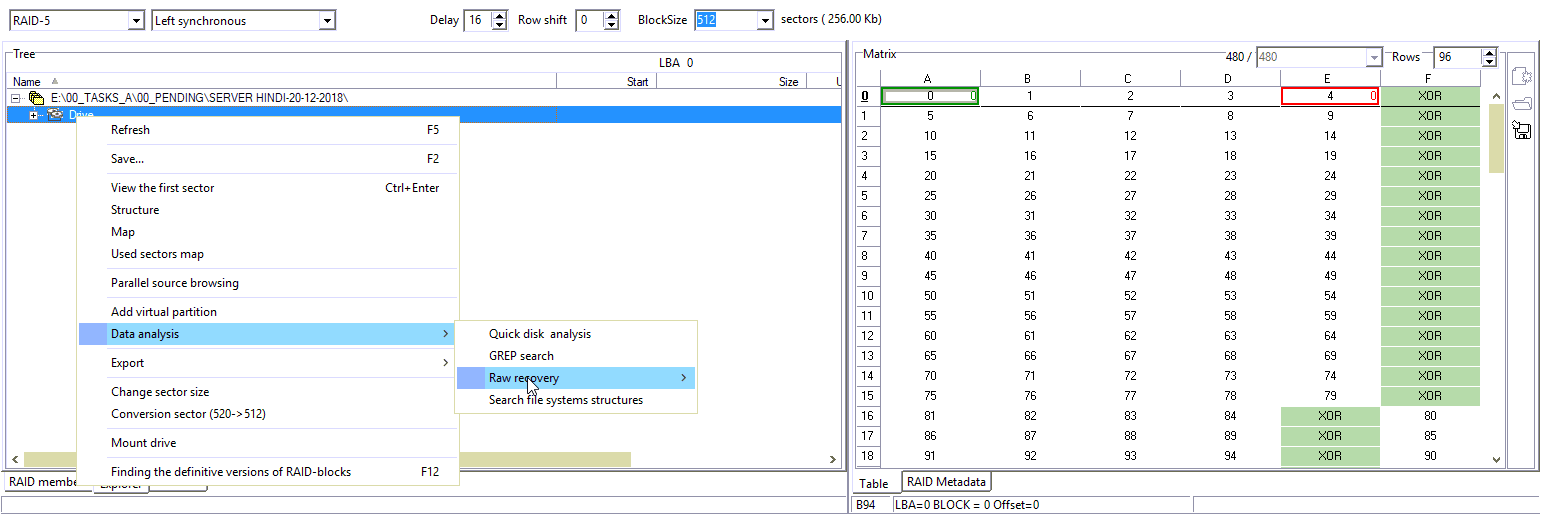
Pay attention to the fact that we are working with conjectural configuration now. And the position of the boot on this configuration can differ from the suggested position.
For our case, they are the same.
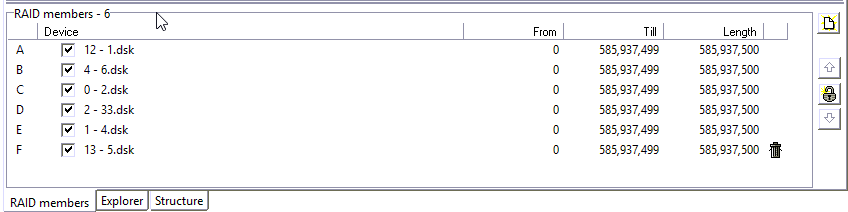
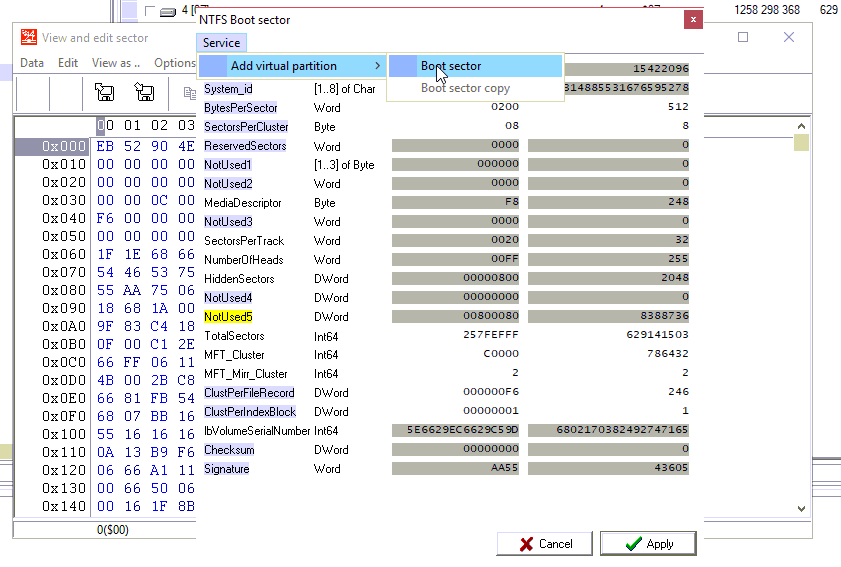
We add virtual NTFS partition for the found NTFS boot.


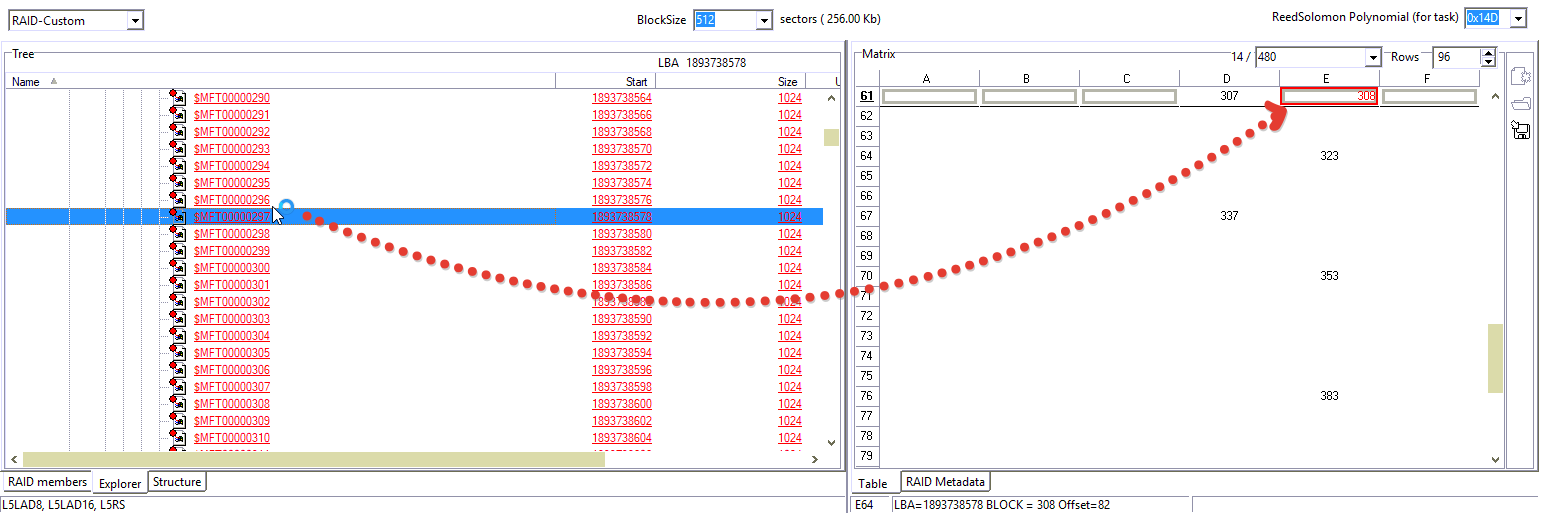
Clear our matrix and try to set configuration based on NTFS structure
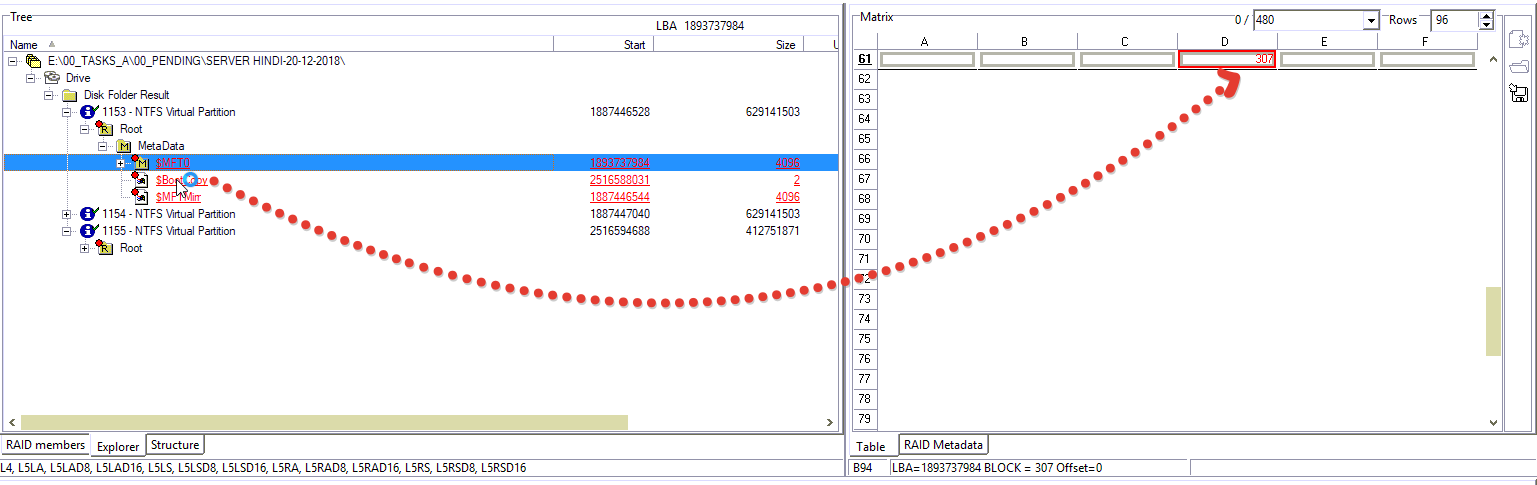
1st block done…
2nd block…
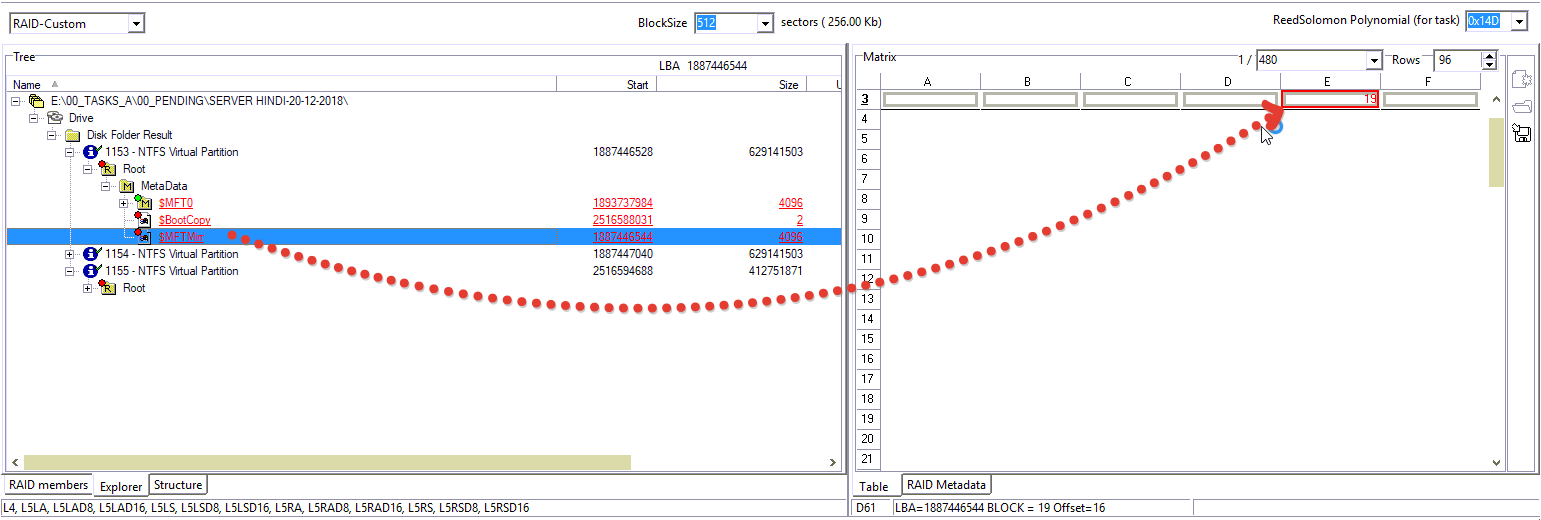
3rd one…
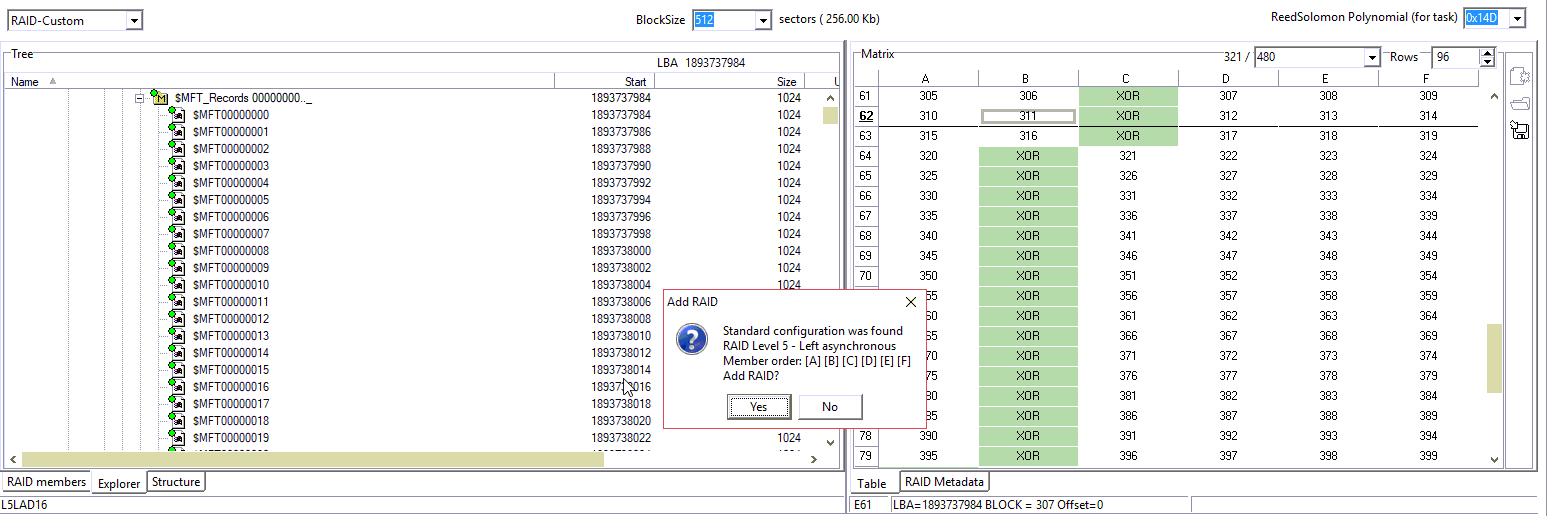
Data Extractor allows us to fill some cells using standard configuration parameters.
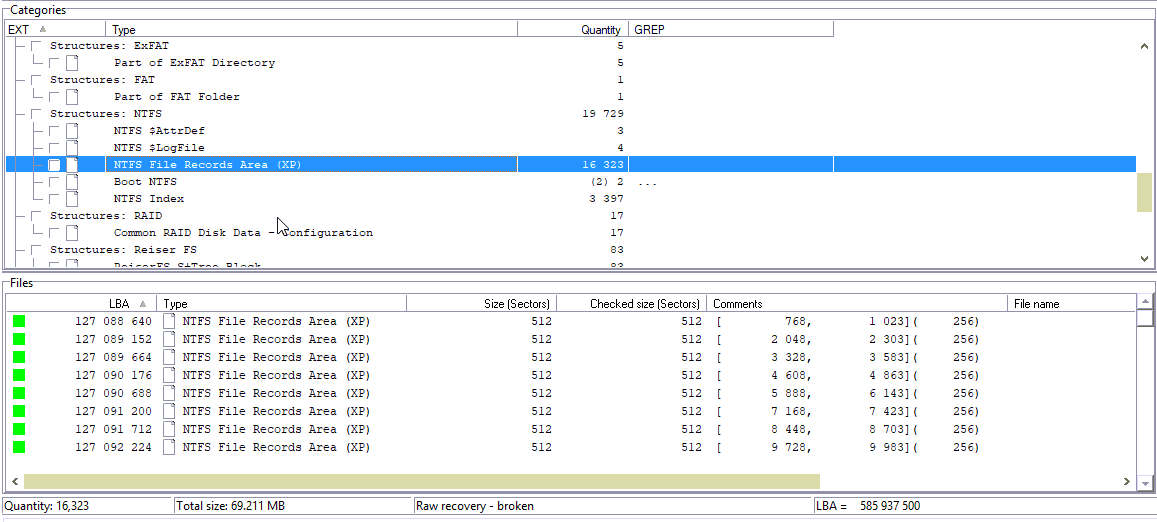
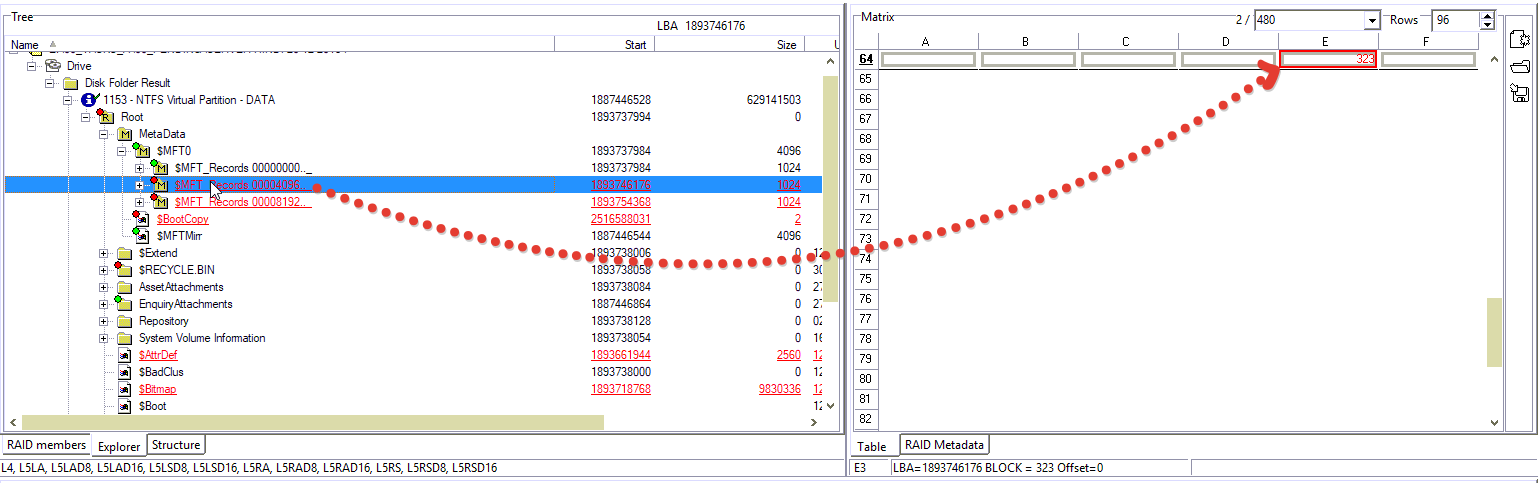
Completed!
The file structure is fine.
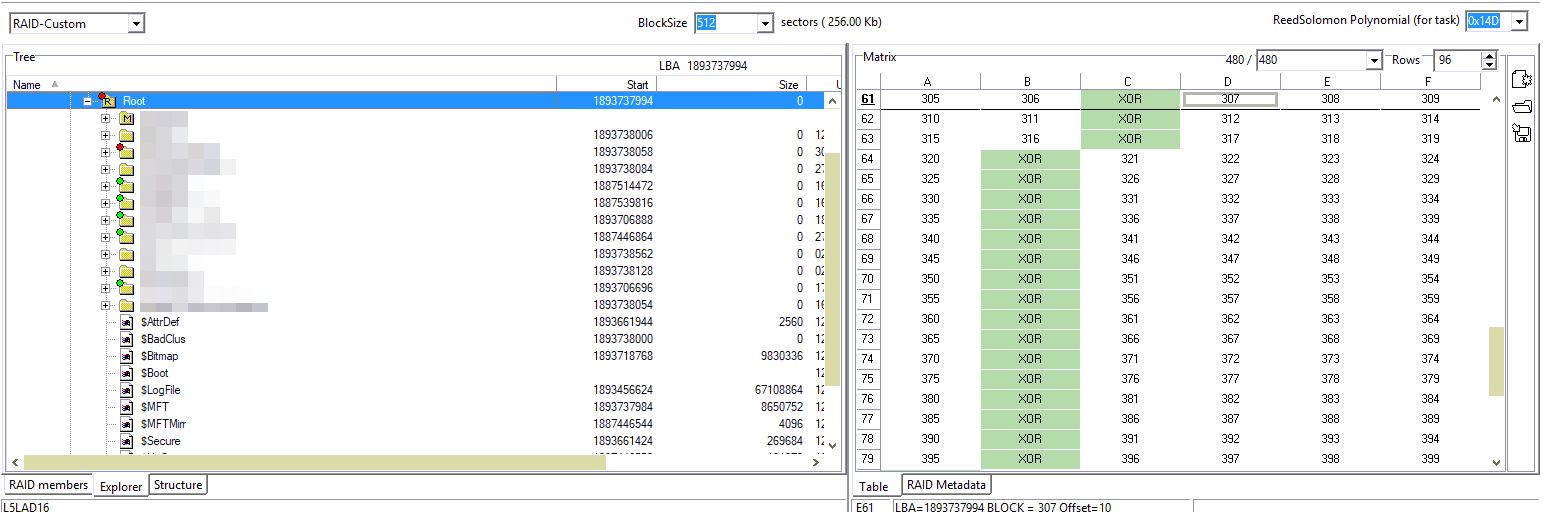
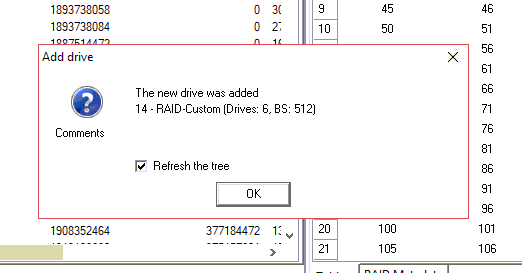
Save the configuration.
Bear in mind that the initial RAID configuration was formatted. So, to open NTFS partition on saved configuration we need to add it manually.
We remember NTFS boot LBA
Paste this LBA in Sector editor
And add NTFS partition from Sector Editor
The main idea of this article is to demonstrate a powerful functionality of Data Extractor RAID Edition. Data Extractor RAID Edition is a flexible and sophisticated tool for data analysis and data recovery. If you want to get deep into data recovery from RAID cases feel free to contact our TS department.


Great article!! This covers so much good stuff. Thank you!