Hello everyone!
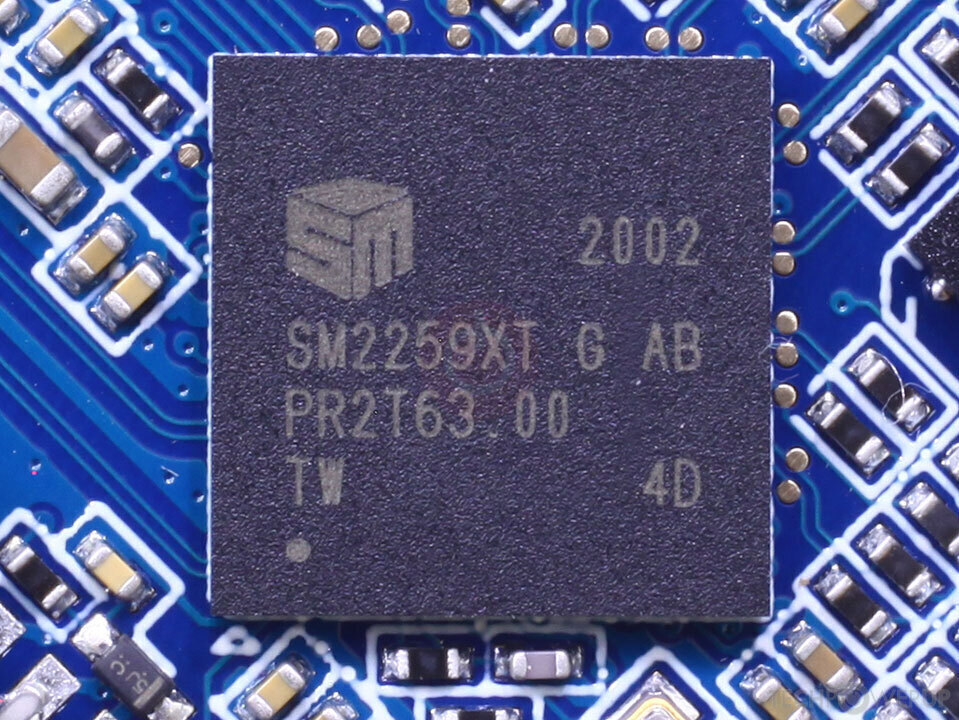
ACE Lab Technical Support department gets a lot of requests from your side about modern Solid State Drives based on such popular SMI controllers as SM2258XT, SM2259XT, SM2259XT2. All these controllers are fully supported in PC-3000 UDMA, Express and Portable III starting from 2020-2021, and now if you got one of these controllers in your target drive, we can try to guide you how to recover it.
Anyway, a huge number of requests from customer side makes us to write this article which could be a handy instruction – how to properly work with these drives and how we can initialize the correct loader.
Before we start, a short guide about the LOADER – what is that, and who is guilty?!
LOADER in PC-3000 SSD – is a modified and improved internal SSD Firmware, additionally updated by ACE Lab developers.
When we start the drive and see that it shows us the wrong passport ID, wrong capacity or stays in BSY – it happens because of the internal Firmware error. Usually this error appears due to the huge number of bad sectors on the NAND chips in SSD.
The reason of BSY state of any SSD
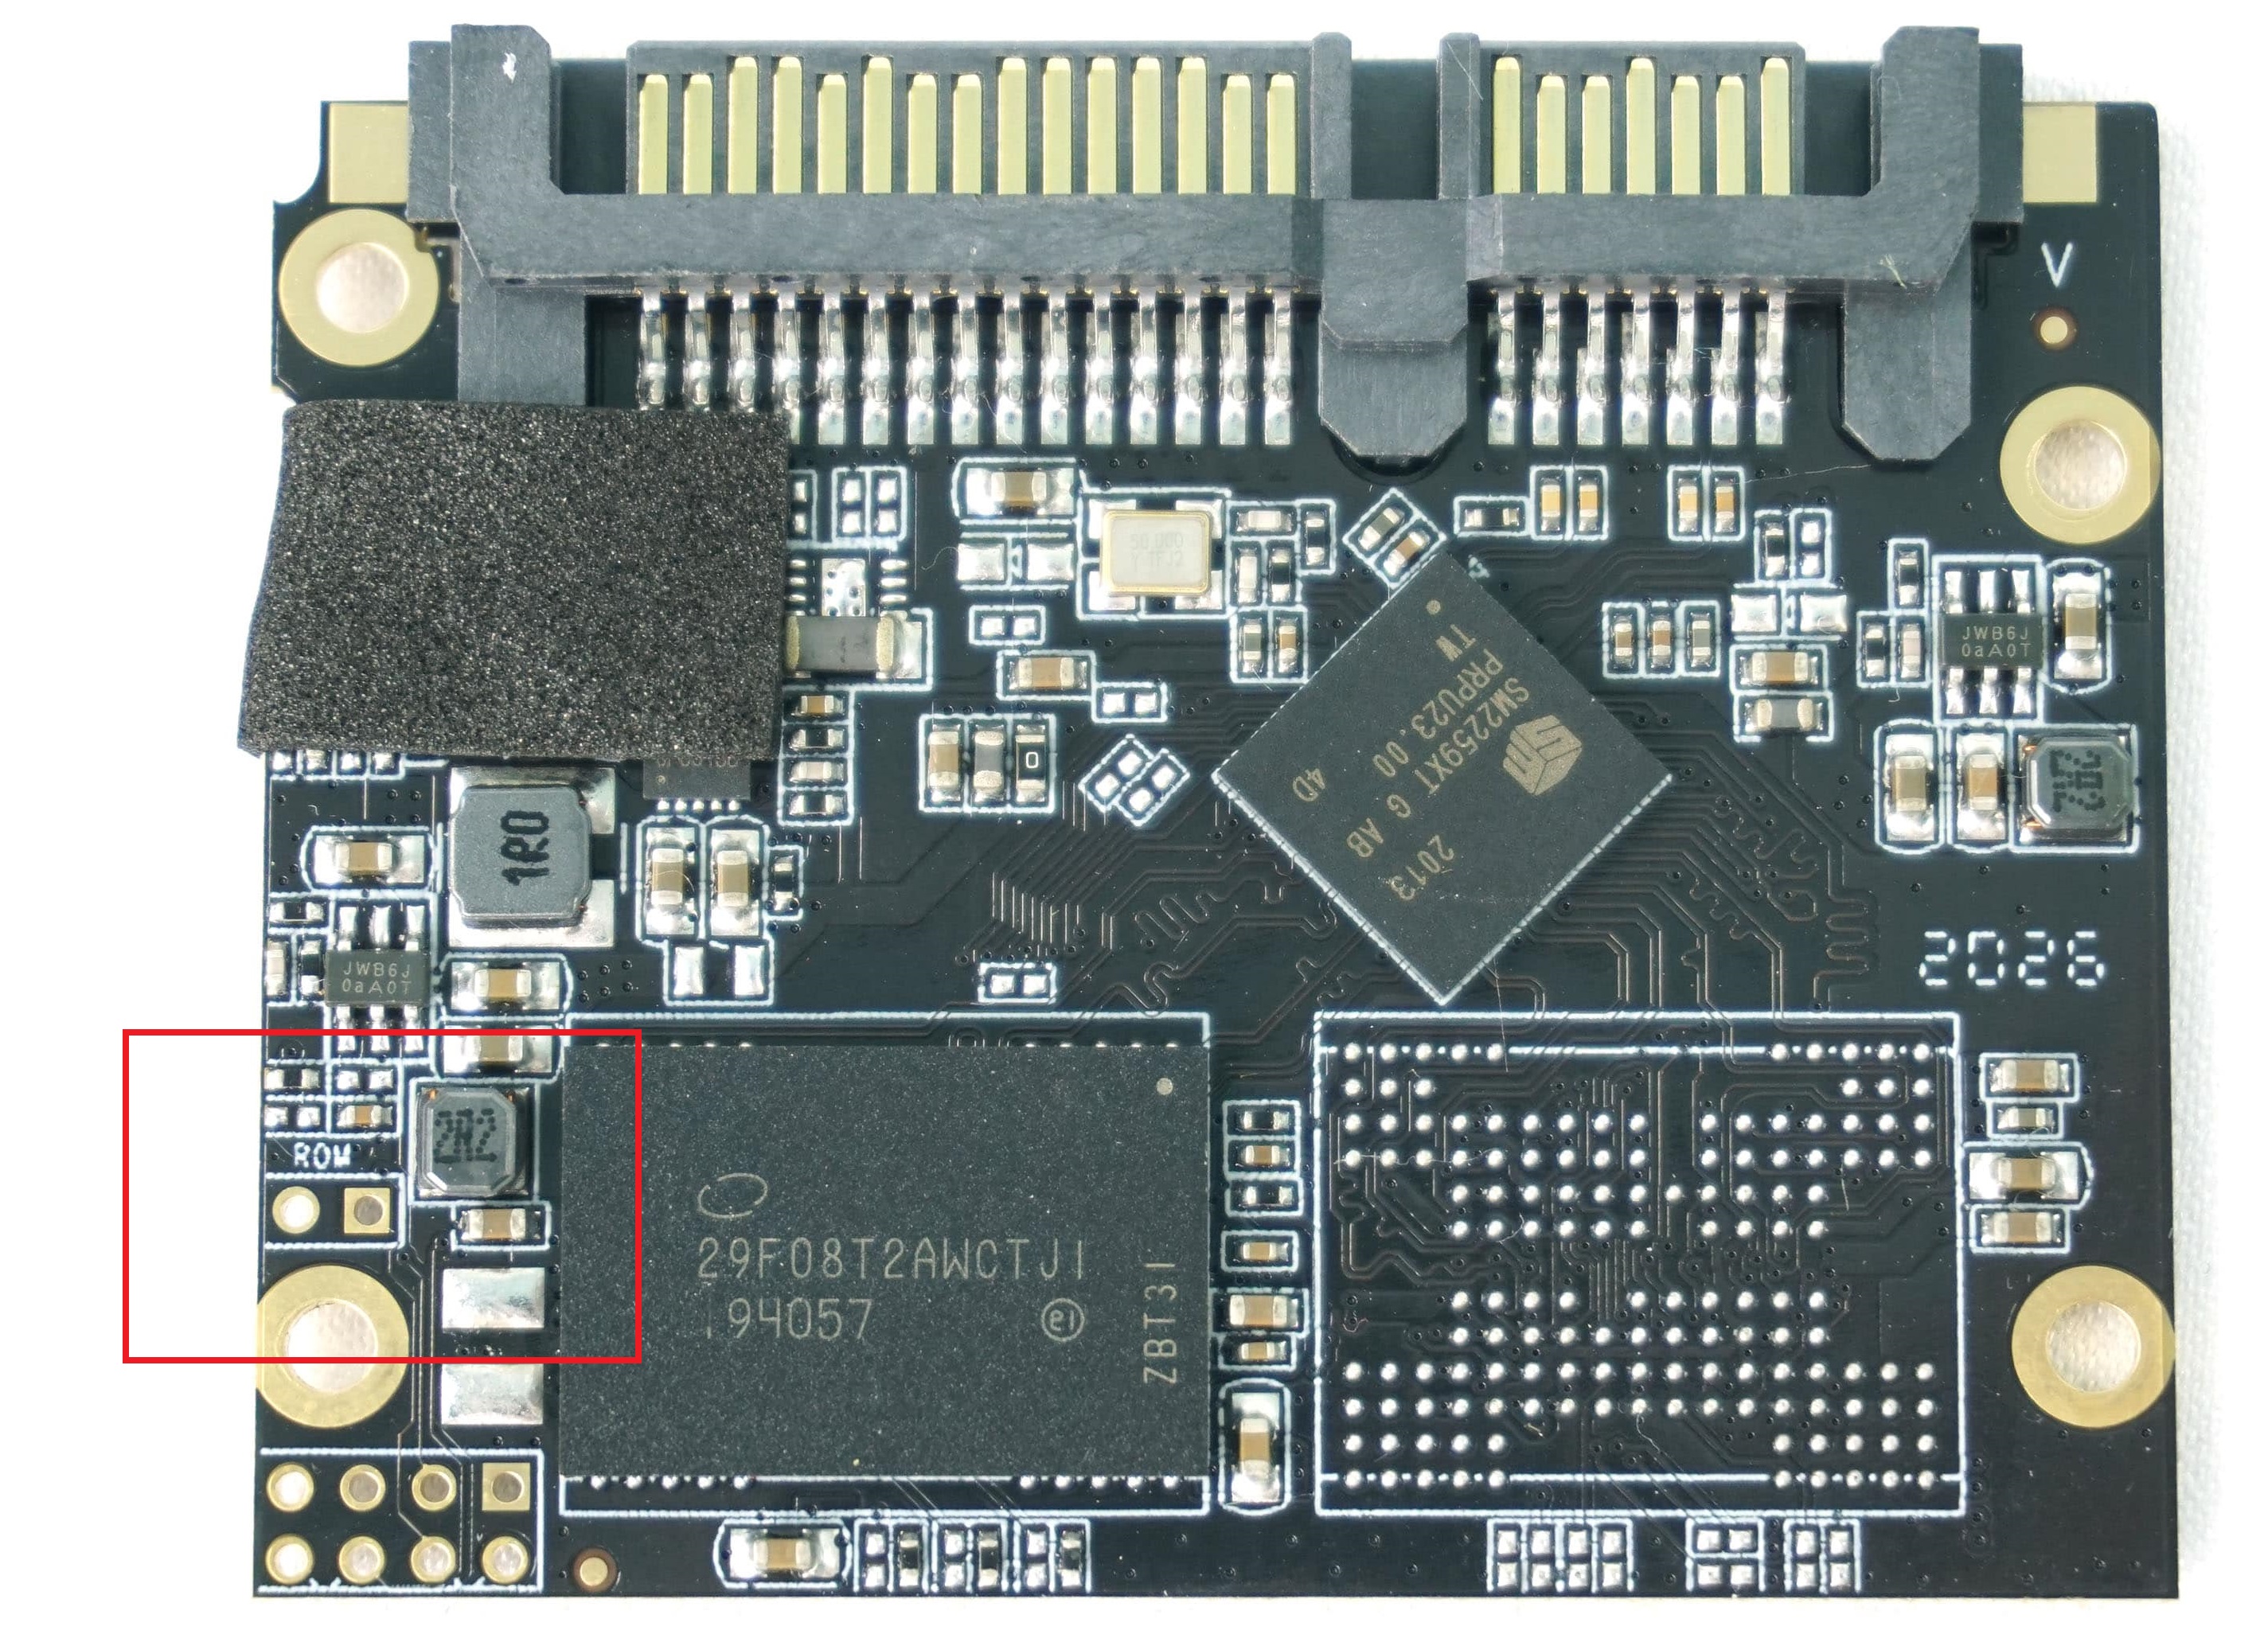
To break this infinity cycle, it’s necessary to find the shorting pins, and short the drive in SAFE MODE. It will help us to block access to the NAND chips and internal Firmware, and open possibility to upload ACE Lab Loader into the drive RAM:
SAFE MODE pins usually marked with ROM signature on SM2258/SM2259XT
After than, we can upload the loader and see all the magic of PC-3000 SSD:
Loader includes the following features:
- Switched off background process (internal components checking, TRIM, etc);
- Slower but more stable single-channel access to NAND memory chips;
- Detecting of correct SSD NAND configuration;
- Improved error processing;
- Unlocked Techno-Mode functions;
- Unlocked hidden factory functions (password management, factory reset, etc).
Using the power of LOADER, it becomes possible to solve a huge number of different issues related with unstable working, or absolutely dead SSD.
For such drives as SM2260G, SM2262ENG, SM2263XT, PS5007, PS5008, PS5012, PS5013, PS5016, SM2246XT, SM2256K, PS3108, PS3109, PS3110, PS3111, PS3112 and some others, loaders are universal and optimized to be used with any type of the internal firmware and NAND memory chip ID.
Unfortunately, for SM2258XT and SM2259XT, it was not possible to create a universal loader that could be adopted for any type of internal Firmware and NAND memory chip configuration. Instead, Utilities for these two controllers have a list of the loaders. And actually, there are a loooot of them 🙂
Each of these loaders contains information about the following SSD details:
- Main Controller Unit;
- NAND Memory Chip manufacturer and type;
- Internal SSD Firmware version.
All these parameters are extremely important for drive initialization. If the NAND chip is supported, but internal FW has a different version – most likely loader will not be compatible, and you will see a message about wrong FW, or you will see a lot of ECC errors during the NAND info reading.
All these issues make SM2258XT and SM2259XT recovery a little bit complicated, because if automatic loader selection didn’t work with your current project, you will have to select it manually.
So, how we can do that? Pretty simple! Here is the example how we can proceed with SM2258XT (btw – SM2259XT solution will be almost the same).
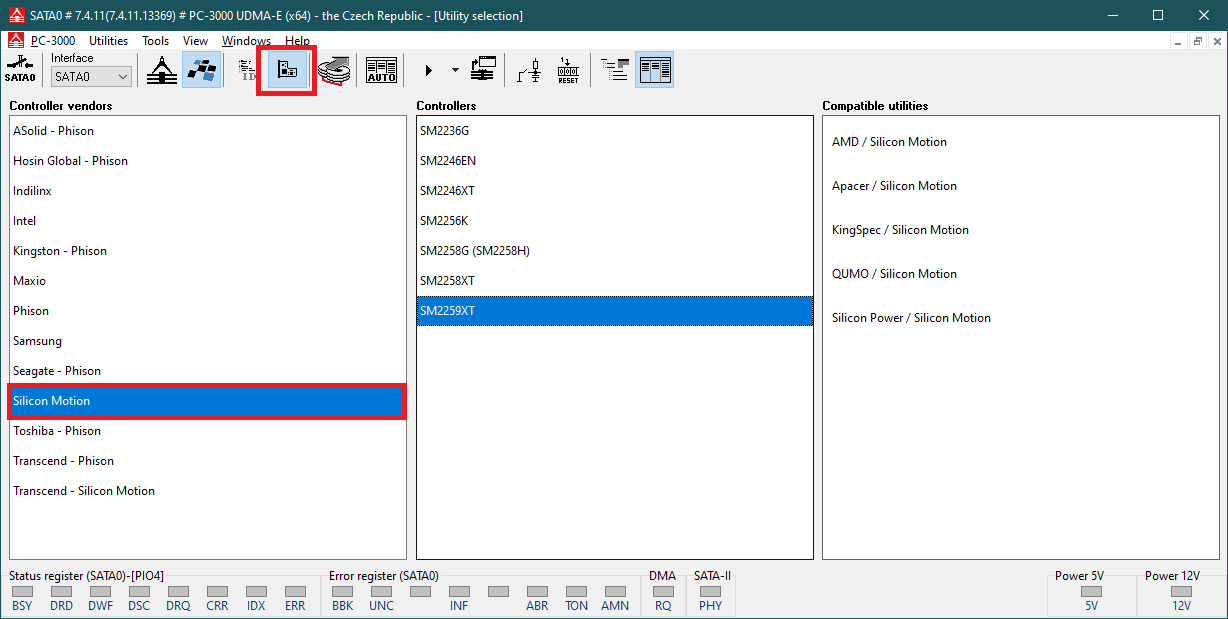
First of all, depending on which type of controller we have, we need to select any compatible Utility:
And of course, we should keep in mind that the drive must be in SAFE MODE PERMANENTLY SHORTED!
In our case, we have SM2258XT, so let’s follow with SmartBuy – Silicon Motion:
Next step is a controller selection:
When controller is selected, the Utility will make a basic drive initialization. Here we can see the type of the NAND chips installed on this drive. As we can see, it’s a:
0x45489AB3 – 7EF20000 made by Sandisk, with the code name 64L BiCS3 TLC 16K.
When we ask the Utility to show us the compatible loaders, we can find that the Utility automatically helps us to select the loader for BiCS3 memory chips:
After the first loader uploading attempt, we finally can read the information about the internal Firmware! It’s a T0910A0 BiCS3_02. This one must be selected from the list of loaders:
When the process would be over, we get a complete drive initialization, and it would be possible to rebuild the Translator:
Completing of initialization process
Drive is in TechnoMode and ready for Translator Rebuilding
Command for Custom Translator reconstruction
When the Translator Building process will be over, it becomes possible to make a new task in DE based on Utility, and reach access to user data:
Here it is!
In case you still have any questions, please feel free to ask ACE Lab TS department to help you.


 (7 votes, average: 4.43 out of 5)
Awesome explanation , Thanks Team
A heartfelt appreciation to the ace team for innovating new solutions that significantly aid data recovery companies in solving cases. Your commitment to advancing the field and providing invaluable tools showcases true dedication. Your contributions are instrumental in elevating the standards of data recovery. Kudos to the exceptional team!
Very useful. Gives clear understanding…Thanks