Hello, friends! At ACE Lab support we get a lot of questions concerning the decryption of Western Digital drives. A typical ticket looks like this: USB WD drive, changed the connection type to SATA as per this article, can’t see see any data in the Data Extractor…
In this article we will show how to decrypt the data in the Marvell utility, how to create a new task and how to access a data in the Data Extractor. Though, for experienced users this article is not obligatory.
Say, you have a Western Digital 3,5″ that came from WD My Book Essential case. The enclosure was damaged , and now you have to extract the data from this SATA drive.
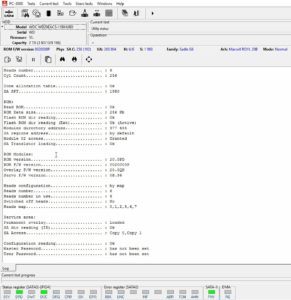
The drive starts a bit slow, but both Service Area copies are readable:
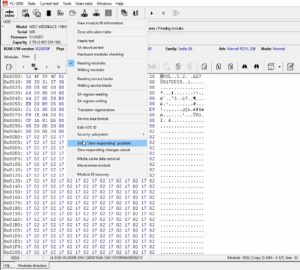
After making a backup copy of the Service Area and writing possibility check-up , in module 32 you notice a lot of defects. To make the drive work faster, you should apply the Slow Responding solution.
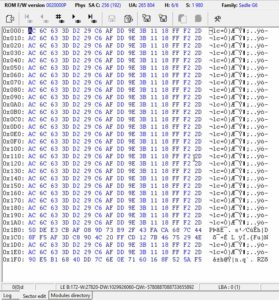
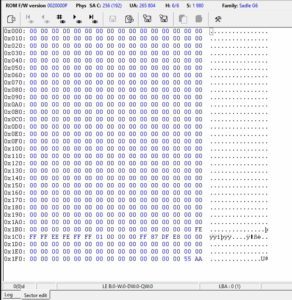
When you look at 0 LBA in Tools->Sector Edit you see, that the drive is encrypted:
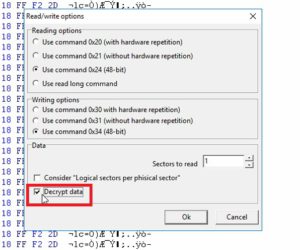
To decrypt the drive, go to Sector Edit->HDD read/write options:
and select the Decrypt data checkbox:
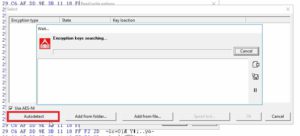
and press Autodetect button:
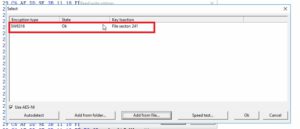
If the heads of the drive are weak, the process might take quite some time. To speed things up, try to look for the key in backup that you made. Add from folder button can’t find the key, so you should try Add from file one, and manually select 38 module:
And now the encryption key is found:
and you can use it for decryption. Press OK and look at Sector Edit in 0 LBA again. Here you see the decrypted data:
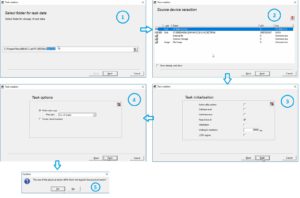
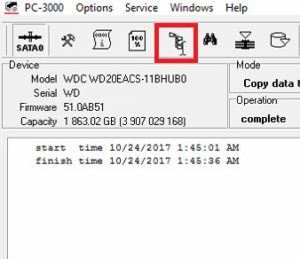
Now you create a new task in the Data Extractor. Even if you have another one opened and operating – a new task is necessary for decryption. If you saved the drive image beforehand and don’t want to re-read the drive, follow this manual.
So, you create a new task:
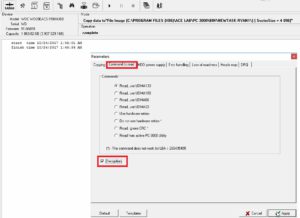
DO NOT EXPAND THE FOLDER TREE when the task is created. First go to Data Extractor settings.
And select the Decryption checkbox in Command to read tab:
Please note that WD Marvell utility must be operating all the time. Do not close it, otherwise the data will not be decrypted.
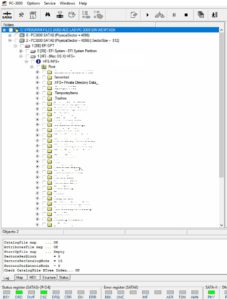
Only now, when you set the Decryption checkbox, you can open the folder tree and check if the data is successfully decrypted:
And so it is! All the data is now available!
If you have any questions, do not hesitate to contact the ACE Lab Technical Support.







Awesome guys. Keep it up. Thank you AceLab for this tutorial. I am able to decrypt the drive i was working on. Loved it. Thank you again.
Very Impressive, tryed now and works perfectly!
Thanks AceLab!!